
No sound from your amplifier is one of the most frustrating problems — but most causes are simple to find and fix. This step-by-step troubleshooting guide walks you through the checks and quick fixes (from cables and inputs to speaker wiring and internal power issues) so you can get your system playing again.
Quick checklist
- Is the amplifier powered on and the power indicator lit?
- Are the correct inputs selected and the source playing?
- Are speaker wires securely connected and not shorting?
- Does sound appear through headphones?
- Are any protection lights or clipped LEDs showing?
Step-by-step troubleshooting
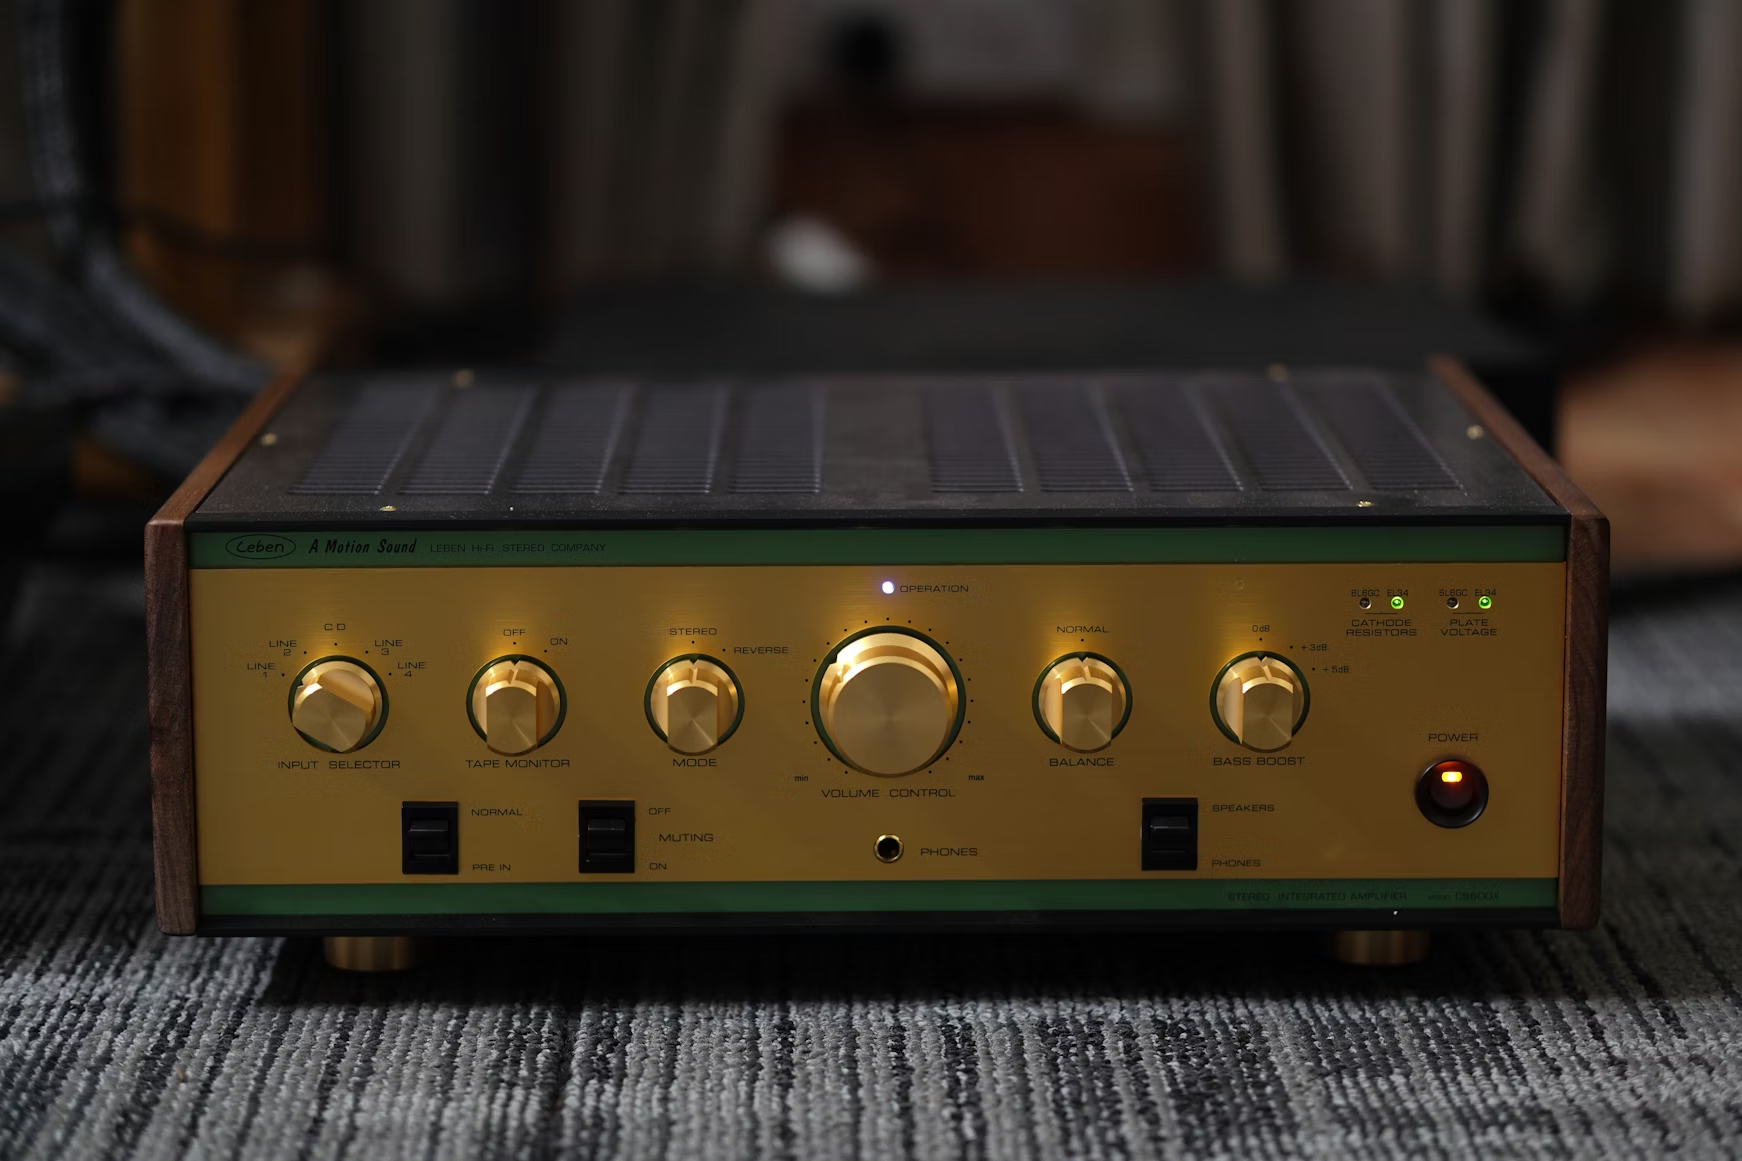
Step 1 — Check power & front-panel indicators
Before diving into cables, make sure the amplifier actually has power. Confirm the AC cable is seated, the power switch is ON, and the front-panel power/standby LED is lit. If there’s no LED at all, try a different outlet and a known-good power cable.
Step 2 — Verify inputs & source
Set the input selector to the correct source (CD, AUX, Phono, etc.). Confirm the source device (phone, streamer, CD player) is playing and the volume on the source is up. If the source has its own mute setting or volume control, ensure it’s not muted or zeroed out.
Try multiple inputs — switch from AUX to CD or Bluetooth to rule out a single-broken input jack.
Step 3 — Inspect speaker wiring
Turn the amp off. Inspect the speaker wires for frayed copper or stray strands touching each other — any short will trigger protection and kill output. Confirm positive/negative polarity is correctly matched at amp and speaker ends (red → red, black → black).
Re-seat banana plugs or screw terminals firmly; loose connections are a common silent culprit.
Step 4 — Test with headphones
Plug headphones into the amplifier’s headphone jack (if present) and switch the amp to the same input. If you hear audio in the headphones but not from speakers, the amp is amplifying the signal — the problem is likely speaker wiring, speaker protection, or output stage related.
If headphones also show no sound, the problem lies earlier (input, source, preamp section, or power stage).
Step 5 — Rule out speaker or cable faults
Swap in known-good speaker cables and/or speakers if possible. Connect the amplifier to a different pair of speakers (or try the suspect speakers on another amp). If the problem follows the speaker, the speaker or its wiring is at fault. If the problem follows the amp, you’ve isolated the issue to the amplifier.
Also test the source on another amplifier or powered speakers to ensure the source output is functioning.
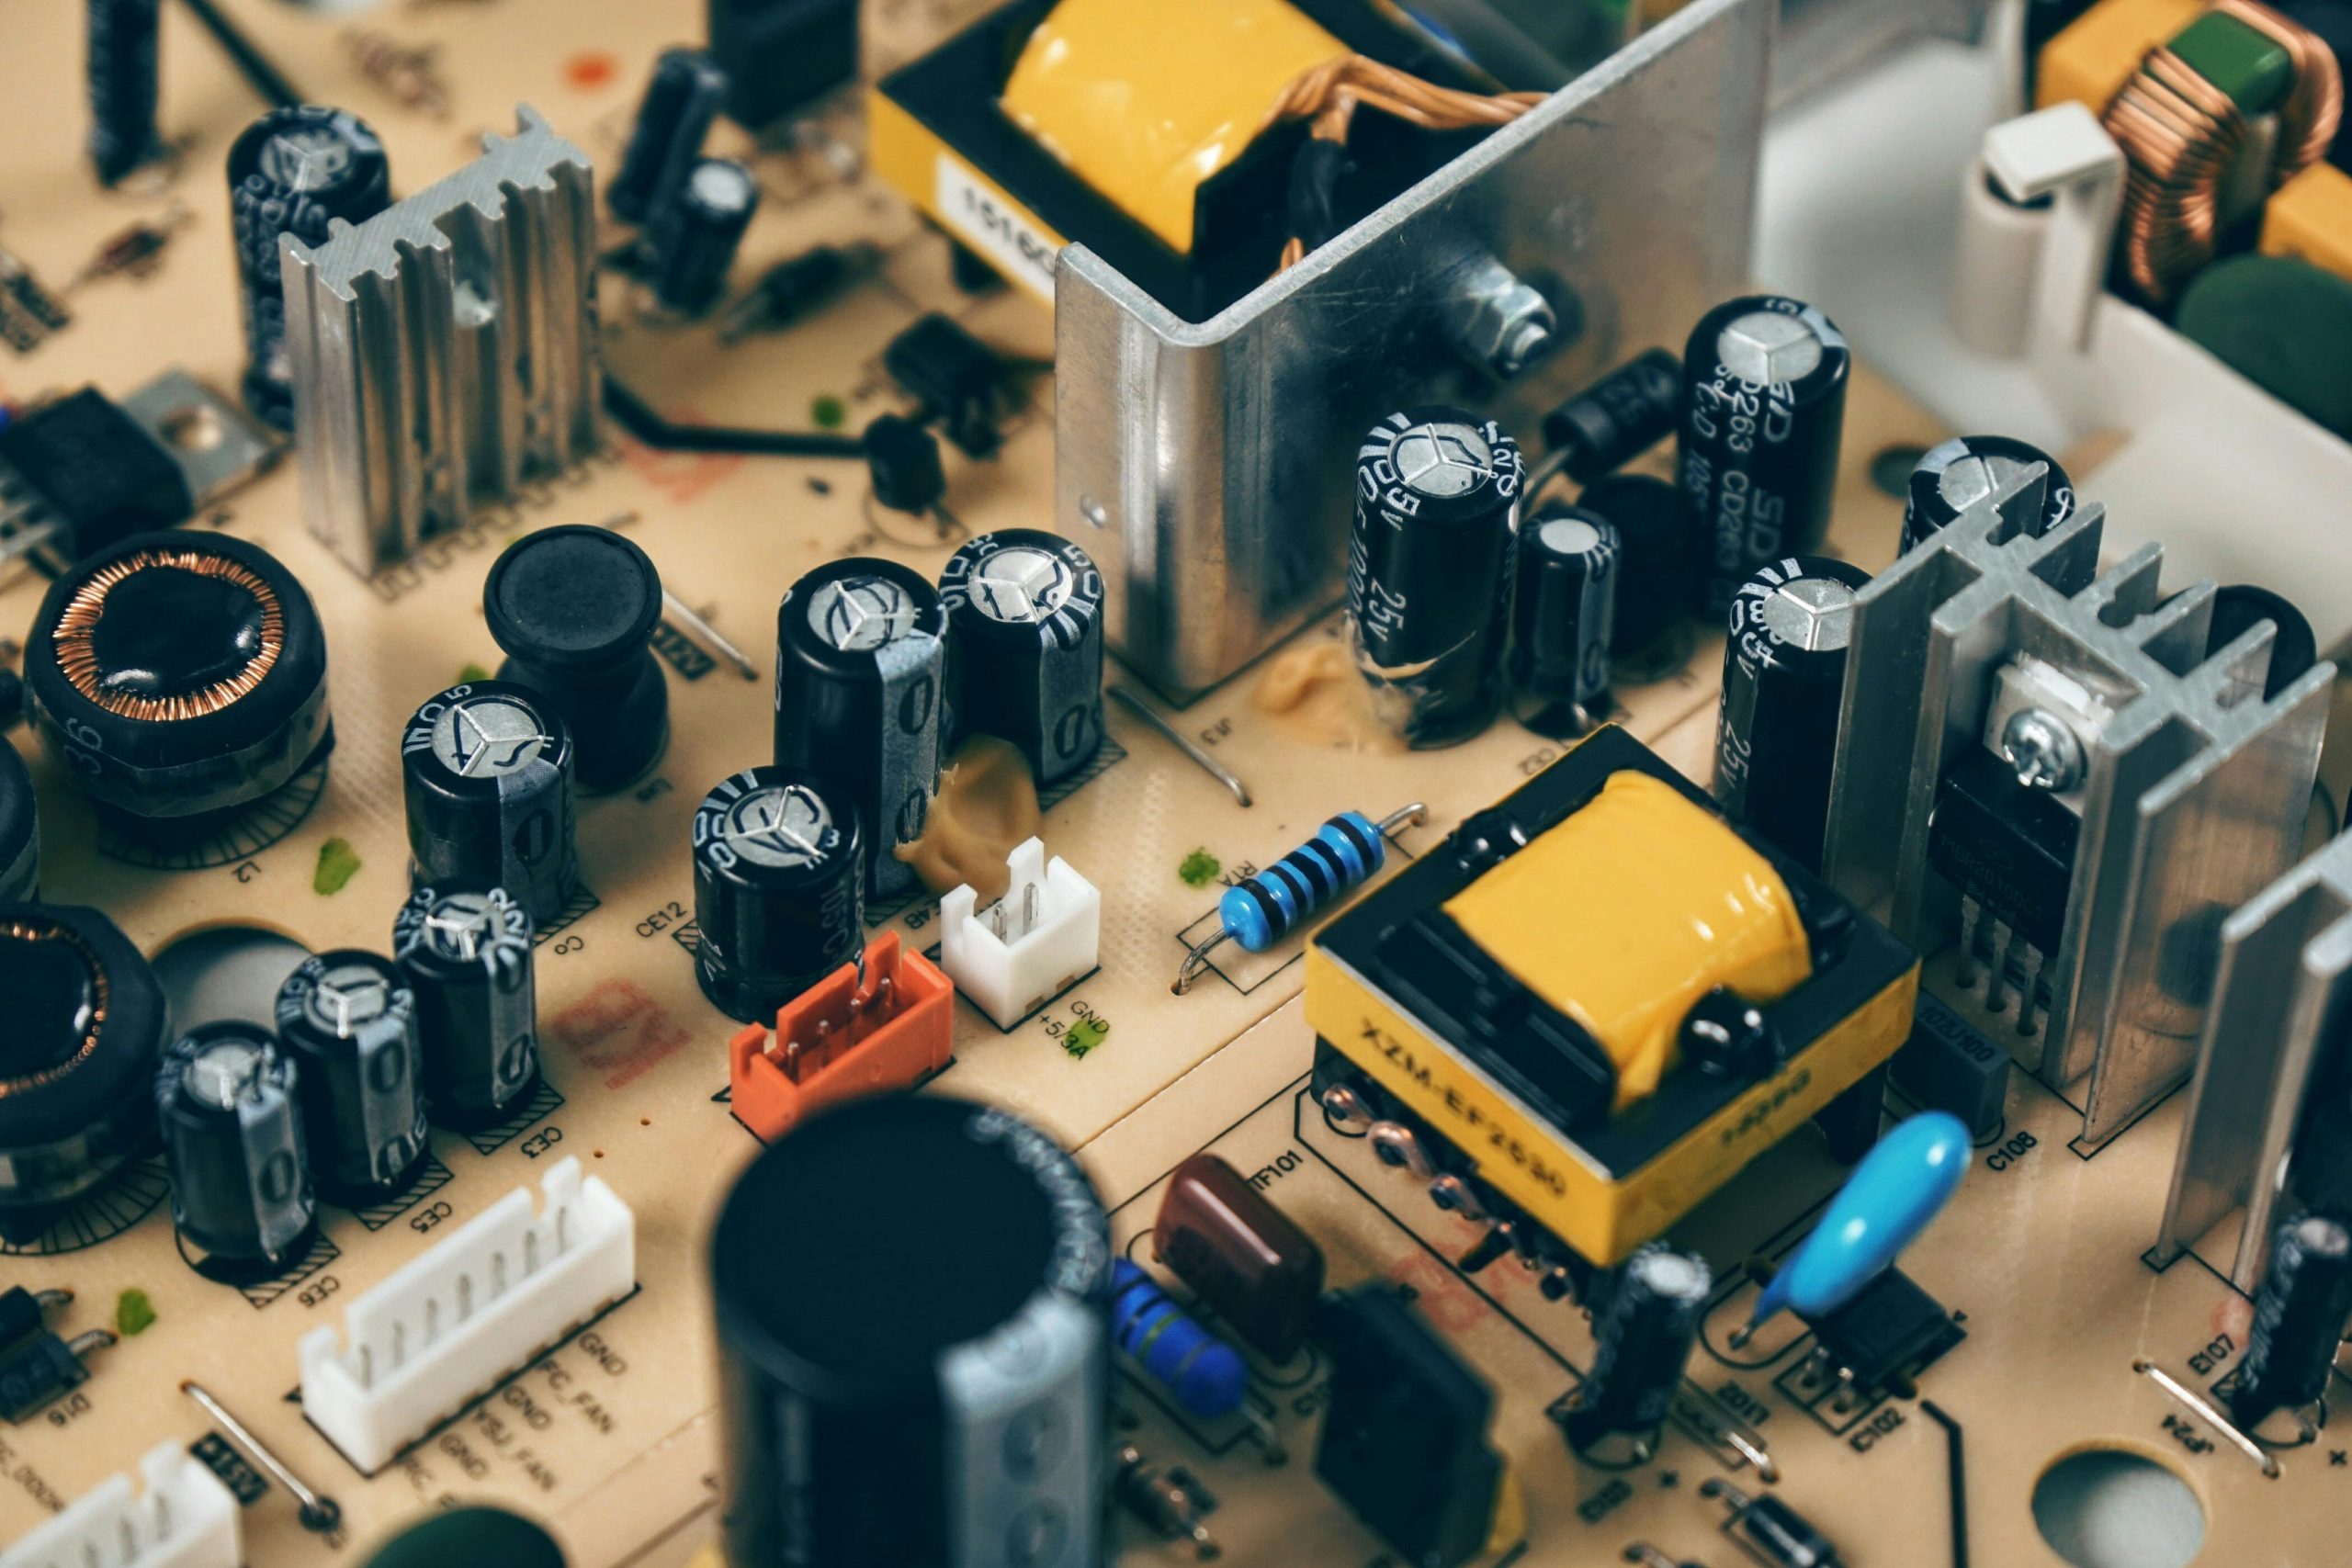
Step 6 — Check protection circuits, fuses & internal faults
Some amplifiers enter a protection mode if they detect a short, overheating, or DC on the speaker outputs. Look for a “protect” LED or check the manual for protection behavior. With power off and unplugged, visually inspect easily accessible fuses (not internal soldered parts). Replace blown fuses with the exact type and rating specified by the manufacturer.
If the amp warms then shuts down, or protection trips repeatedly, stop testing — this indicates an internal fault (e.g., shorted output transistor, failed power supply caps) that needs a qualified technician.
Advanced checks (only if you are comfortable)
If you’re experienced with electronics, measure DC at the speaker terminals (should be near 0V DC). Excess DC indicates a failed output stage. Check power supply rail voltages and look for bulging or leaking electrolytic capacitors on the power board. If uncertain, consult a repair technician — internal repairs can be hazardous.
- Power & indicators
- Input selection & source volume
- Speaker wiring & polarity
- Headphone test
- Swap speakers/cables to isolate fault
- Inspect fuses & protection circuits
Helpful Resources
Common causes of no sound from an amplifier
While wiring mistakes are the most frequent cause, several other issues can mute an amplifier. Here are the most common real-world causes:
- Incorrect input selected (e.g., AUX selected but device is plugged into CD/Line).
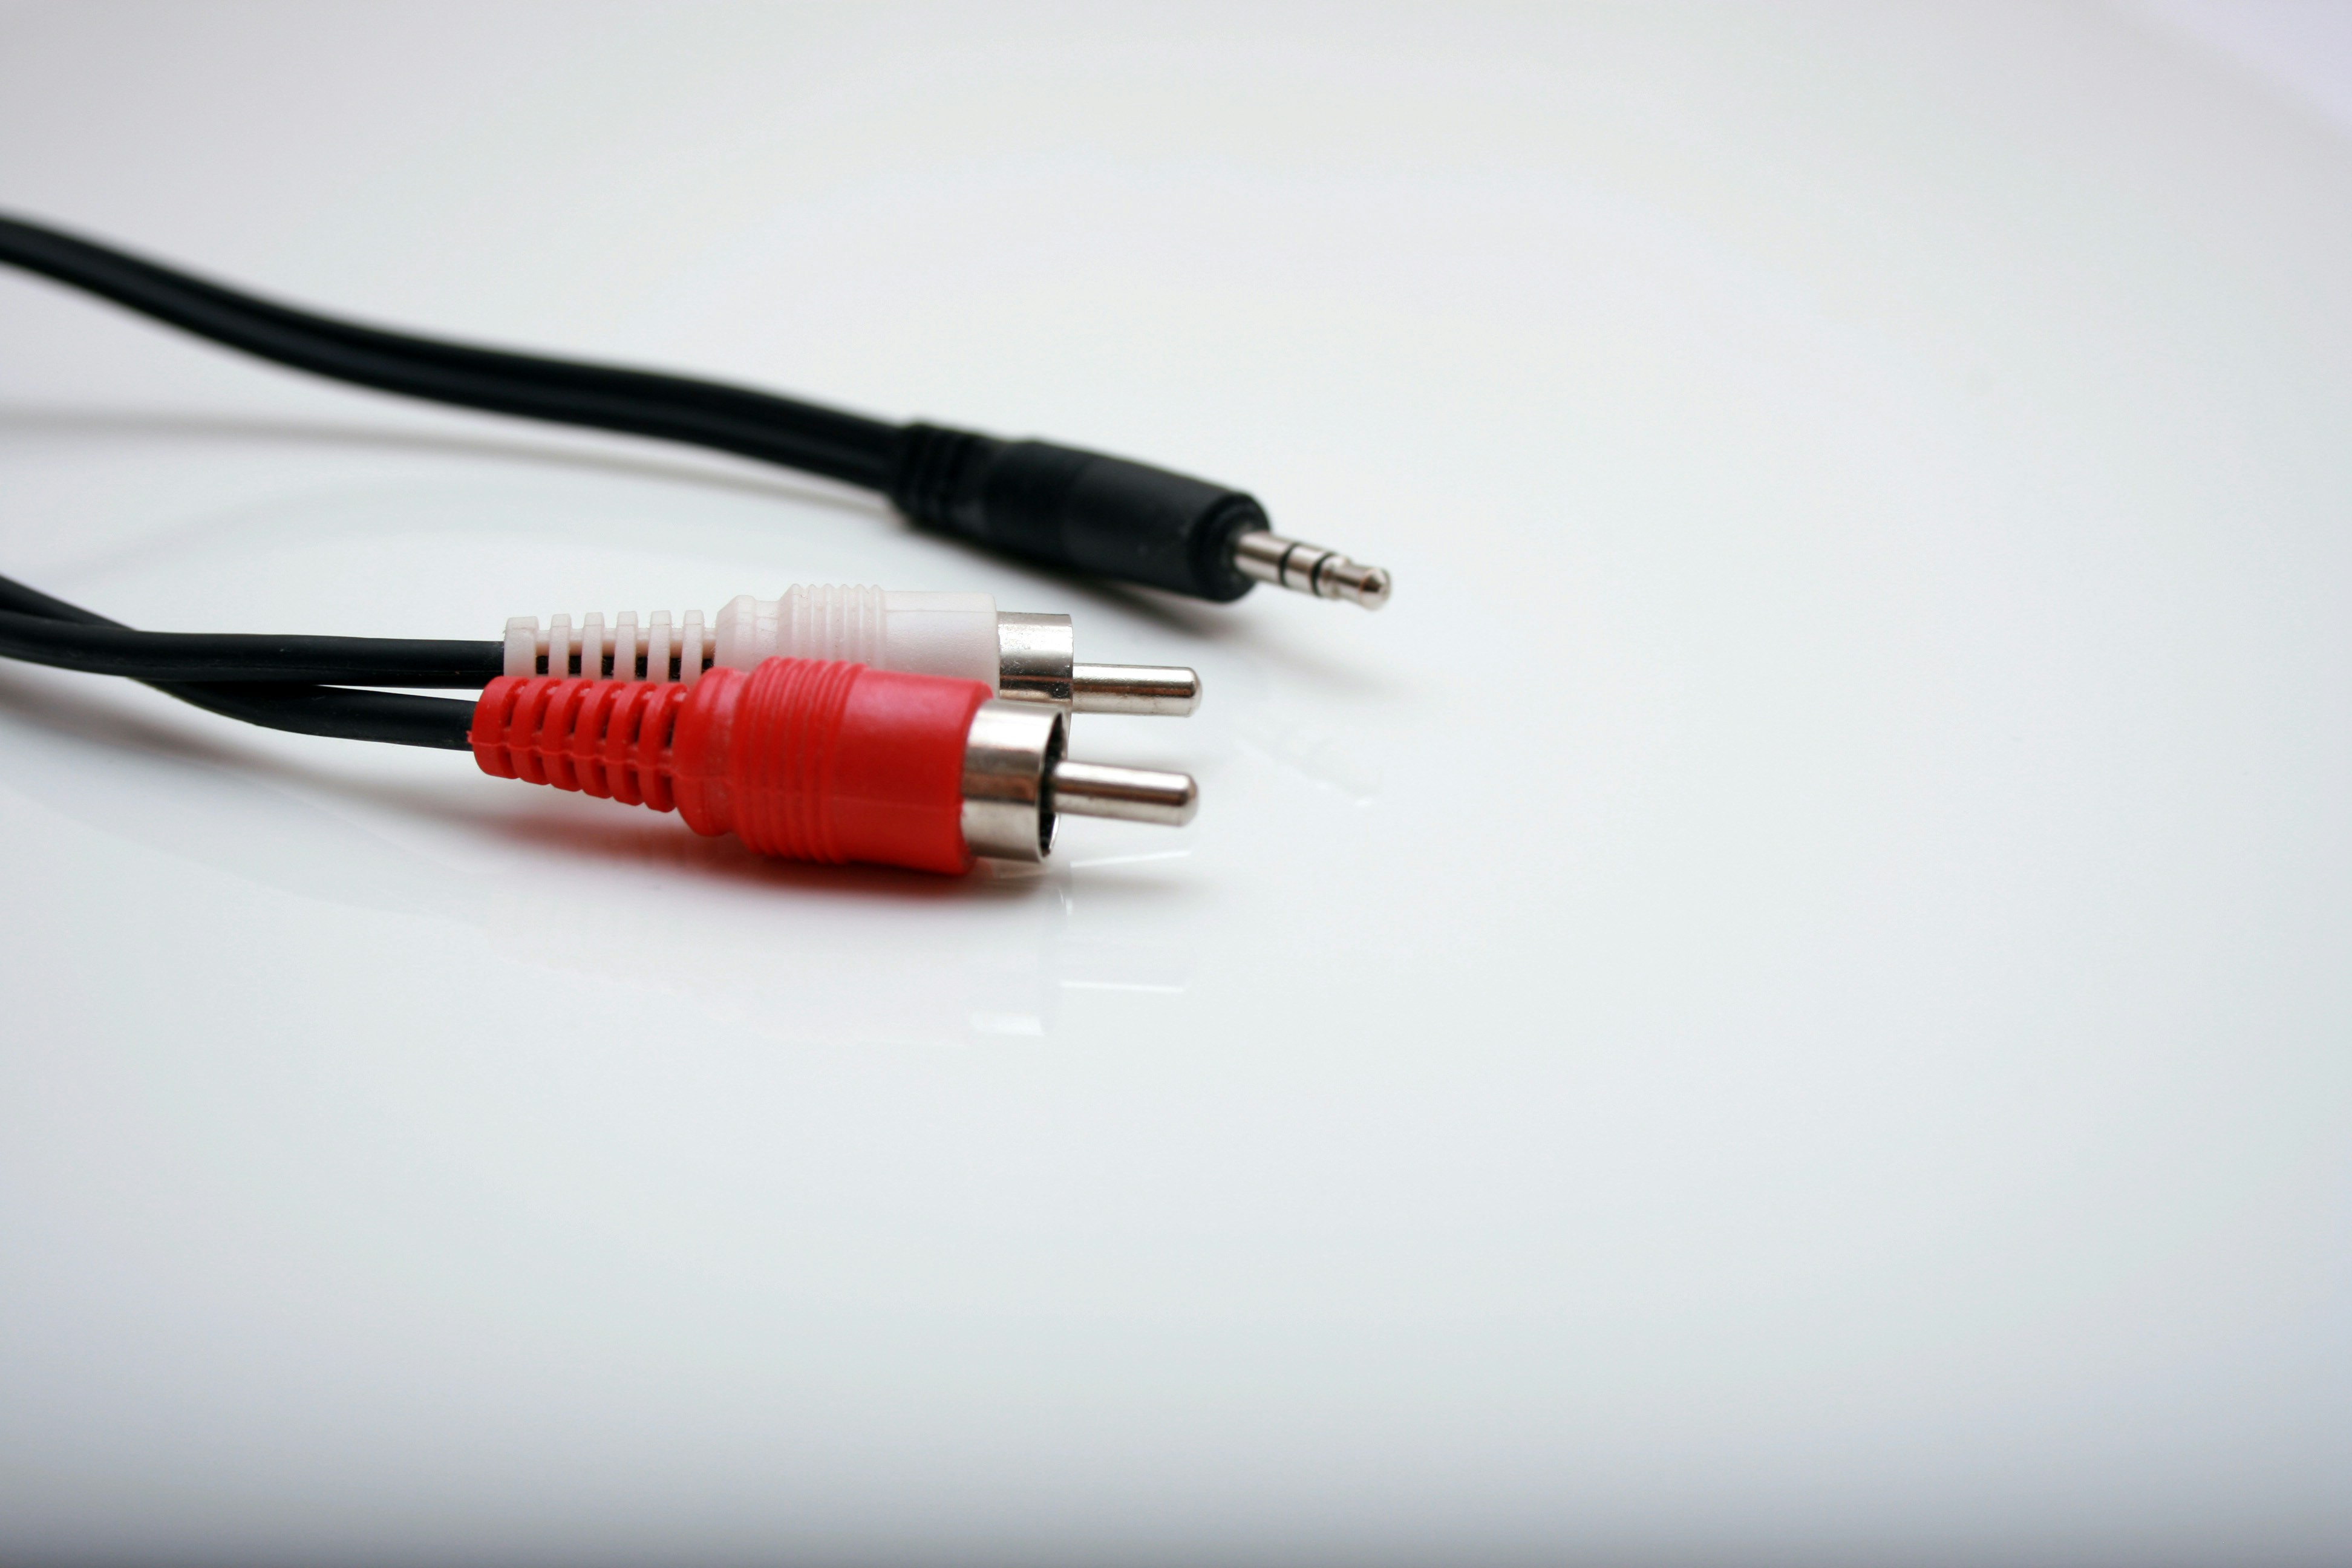
- Loose or faulty RCA cables causing intermittent or no signal transfer.
- Protection mode triggered due to heat, short circuits, or internal faults.
- Speaker impedance too low causing amp shutdown.
- Blown internal output transistors or MOSFETs.
- Loose pre-out/main-in jumpers on integrated amps.
- Corroded speaker terminals inhibiting output.
- Ground loop issues muting or interfering with signal.
- Digital format mismatch (for AVRs using HDMI/Optical).
- Firmware bugs on network receivers or modern AVRs.
Troubleshooting flowchart (quick logic path)
If you prefer a fast decision path, follow this simplified process:
- Does the amp power on? → If not, check cables/outlet/fuse.
- Is the correct input selected? → If unsure, test every input.
- Do headphones work? → If yes, issue is speaker/output stage.
- Do speakers/cables work on another amp? → If not, speaker fault.
- Is protection mode enabled? → Fix wiring/overheating/shorts.
- Still silent? → Internal component failure likely.
How to prevent no-sound issues in the future
- Keep speaker wires tidy to avoid accidental shorts.
- Use proper ventilation to prevent overheating and protect output transistors.
- Avoid turning the volume to max (clipping can cause long-term damage).
- Use surge protectors to safeguard sensitive power supplies.
- Clean dust from vents and fans every 3–6 months.
- Inspect cables annually and replace loose or oxidized connectors.
Should you repair or replace your amplifier?
Some amplifier faults are inexpensive to fix, while others cost more than replacing the amp entirely. Here’s a simple guideline:
- Repair it if the fix involves fuses, wiring, jumpers, switches, or simple protection resets.
- Repair it if the amp is vintage, high-end, or has sentimental value.
- Replace it if output transistors, transformers, or DSP modules fail (repairs often exceed $200–$400).
- Replace it if the unit repeatedly overheats despite proper ventilation.
Quick diagnostic table
| Symptom | Likely Cause | Suggested Fix |
|---|---|---|
| No sound but headphones work | Speaker wiring or output stage issue | Check speaker cables, fuses, and binding posts |
| Clicking sound, no output | Protection relay engaged | Inspect for shorts and overheating |
| Only one channel works | Faulty RCA cable or individual channel fault | Swap cables left/right to isolate |
Special case: AV receiver sound issues (HDMI/ARC)
- Turn HDMI-CEC off and on again — many TVs mute receivers via CEC bugs.
- Check TV audio output setting (PCM, Bitstream, Dolby Digital).
- Reset the HDMI handshake by unplugging both TV and AVR for 2 minutes.
- Try a different HDMI cable — ARC is extremely cable sensitive.
- Perform a soft reset on the AVR (not factory reset). Instructions vary by brand.
Tools you may need
- Multimeter (to test fuses and DC offset)
- Known-good speaker cables
- Flashlight (for inspecting terminals and fuses)
- Compressed air (for cleaning dust buildup)
Final tips & when to call a technician
Simple wiring mistakes and muted sources are the source of most “no sound” problems. If you’ve run the steps above and the amp still shows no output or trips protection repeatedly, stop further DIY testing. Have a qualified technician check the unit — power-stage faults and leaking capacitors require proper equipment and experience.
FAQ
Q: My amplifier powers on but produces no sound — should I try opening it?
A: Only if you have experience with electronics. Unplug the unit and check external fuses and wiring first. Internal repairs can be dangerous; if protection keeps tripping, consult a qualified repair service.
Q: Why do I hear sound through headphones but not speakers?
A: If headphones work but speakers don’t, likely causes are speaker wiring faults, blown output fuses, or the amplifier’s speaker protection circuit being engaged.
Q: How can I safely test if my speakers are working?
A: Use a known-good set of speaker cables and connect the speakers to another amp or use a multimeter (check for reasonable impedance). Alternatively, try powered monitor speakers or headphones on the same source to isolate the issue.