
Your amplifier is the heart of your audio setup — whether for music, home theater, or instruments, proper maintenance ensures it keeps delivering clean, powerful sound. Dust, oxidation, and poor ventilation are the silent killers of amp performance. In this guide, we’ll cover the best amplifier maintenance tips to keep your gear sounding its best for years to come.
Affiliate Disclosure: AmplifierZone is reader-supported. As an Amazon Associate, we may earn commissions from qualifying purchases at no extra cost to you.
Why amplifier maintenance matters
Regular cleaning and preventive maintenance protect internal circuits, prevent overheating, and extend component lifespan. Even high-end amps can degrade without care, leading to noise, distortion, or complete failure over time.
Tools and materials you’ll need
- Soft microfiber cloths
- Compressed air canister
- Small brush or artist brush
- Contact cleaner (non-residue type)
- Vacuum cleaner with a gentle nozzle
- Phillips screwdriver (for light case cleaning)
- Cotton swabs and isopropyl alcohol (optional for metal contacts)
Step-by-step: How to clean your amplifier safely
1. Power down and unplug
Always disconnect your amplifier from power before cleaning. Unplug all cables — speaker, input, and power cords. Wait a few minutes to ensure capacitors discharge fully.
2. Dust the exterior
Use a microfiber cloth to wipe the exterior casing gently. Avoid sprays or liquids directly on the surface; apply to the cloth instead. Remove fingerprints, smudges, and accumulated dust.
3. Clean vents and grilles
Airflow is crucial. Use compressed air to blow dust out of vents, and a brush to clear stubborn buildup. Never block ventilation — it can cause heat buildup and reduce performance.
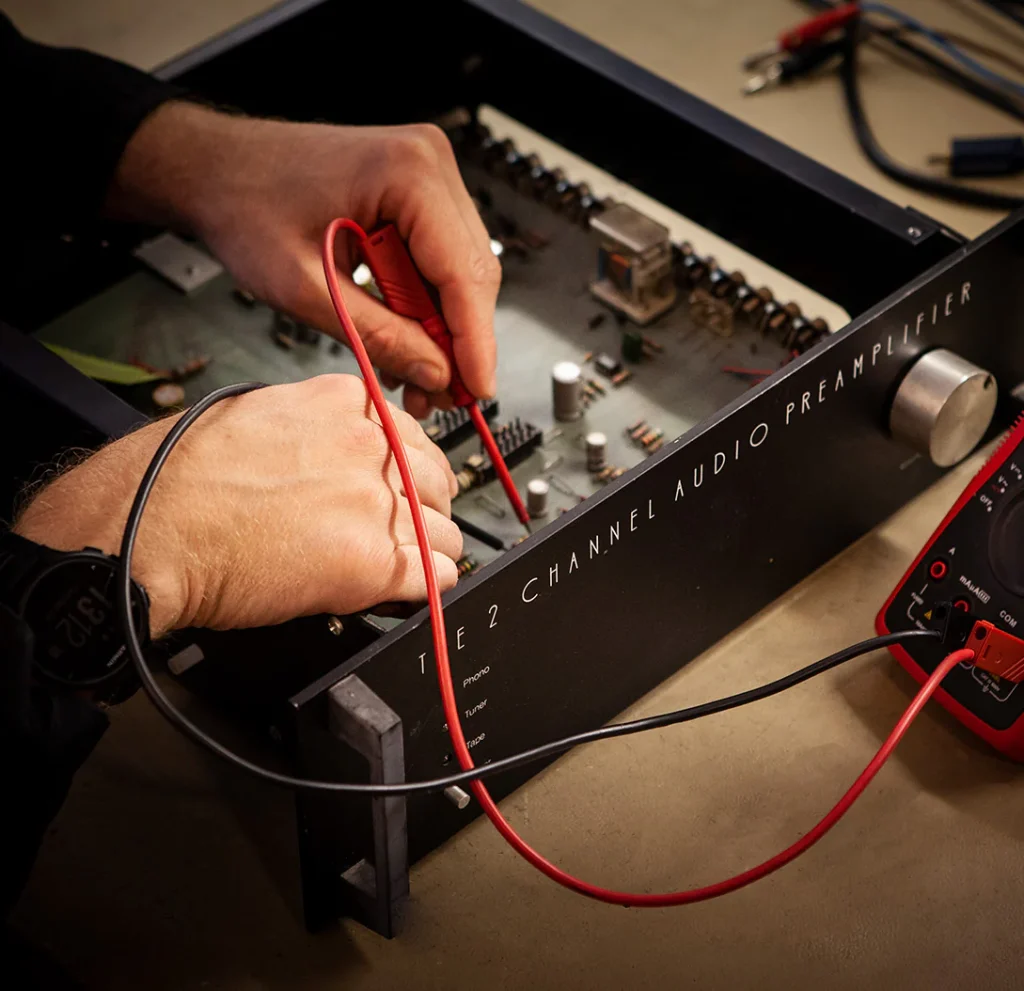
4. Check input/output jacks
Inspect all RCA, speaker, and power connectors for corrosion or oxidation. A small amount of contact cleaner on a cotton swab restores conductivity and eliminates crackling noises.
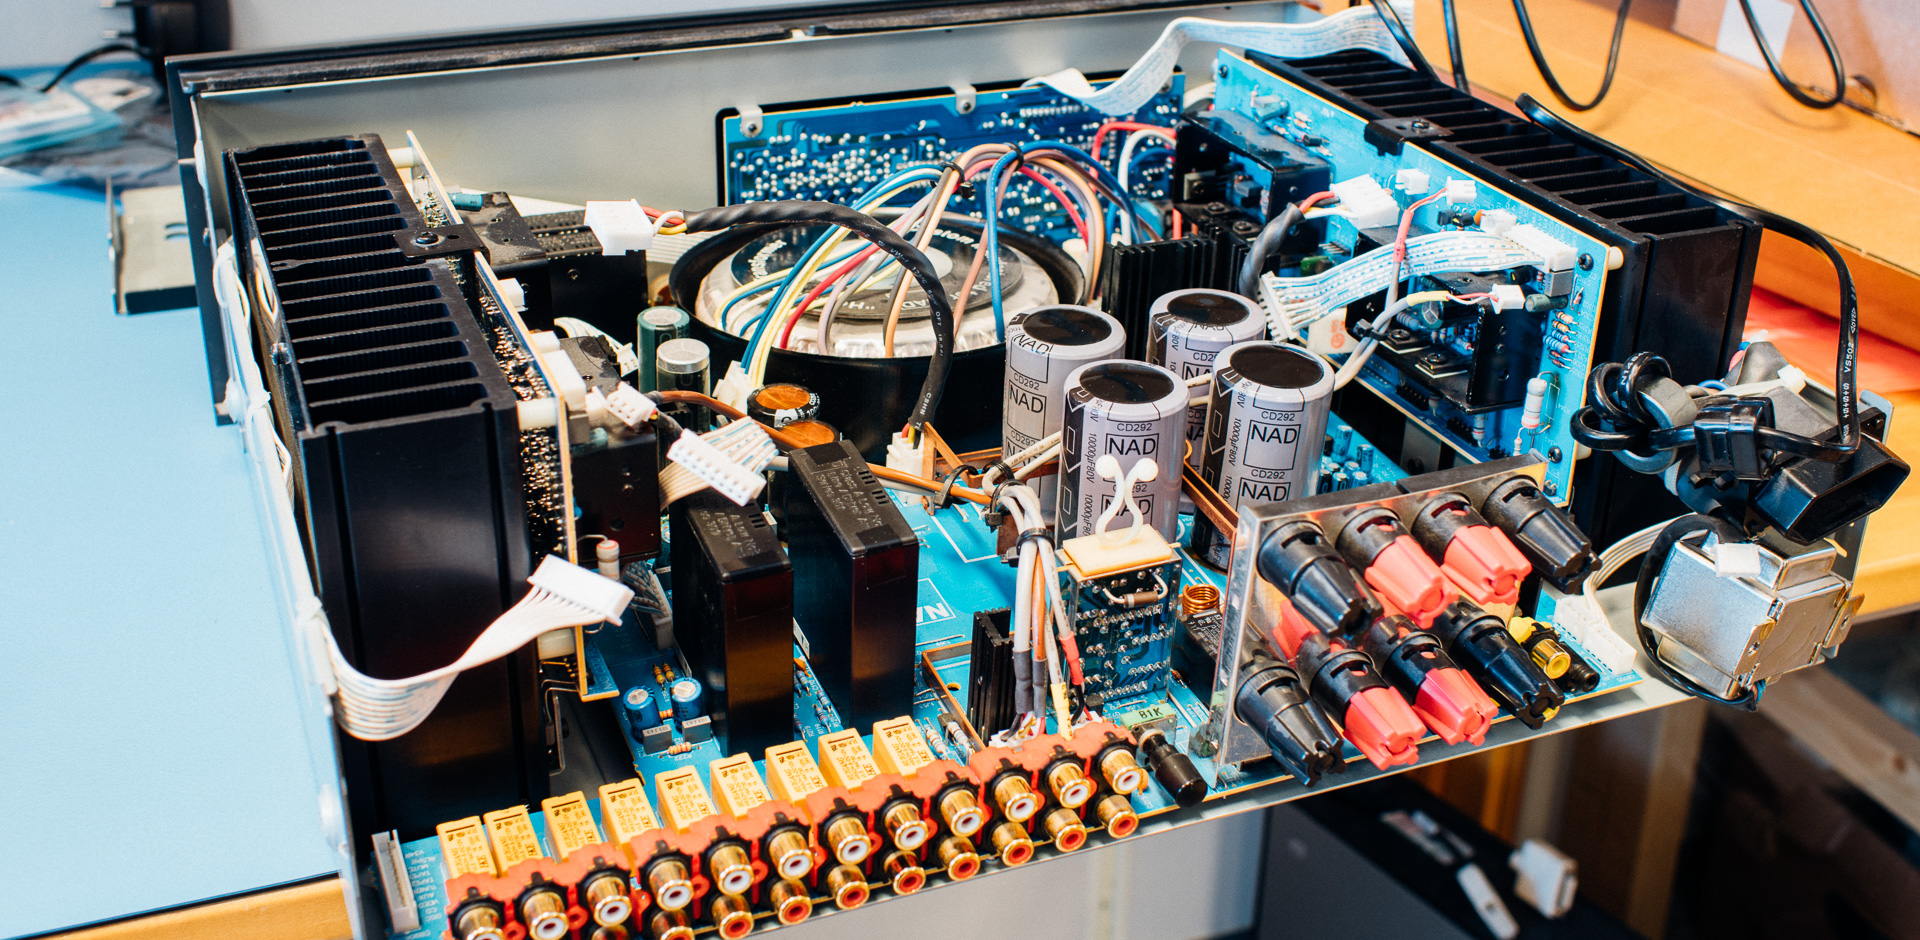
5. Interior cleaning (optional)
If you’re comfortable and the warranty allows, remove the top cover to gently blow out dust using compressed air. Do not touch internal boards or capacitors. If unsure, skip this step and consult a technician.
6. Reconnect and test
Once everything is clean and dry, reconnect your amplifier and test playback. Check for clear sound, stable volume levels, and no intermittent static or hum.
Pro maintenance tips
- Keep your amp ventilated: Leave at least 4–6 inches of space around vents.
- Avoid moisture: Store your amp in a dry, cool room to prevent corrosion.
- Use surge protection: Protects your amp from voltage spikes that can fry circuitry.
- Inspect cables often: Frayed or loose cables cause hum and can damage jacks.
When to service your amplifier
If you notice distortion, unusual humming, loss of output, or excessive heat, it’s time for a professional service. Technicians can measure bias levels, replace worn capacitors, and clean internal connectors more thoroughly.
Related resources
For more detailed amplifier tutorials and setup tips, visit our How-To Guides section.
This article is part of AmplifierZone’s evergreen maintenance series, written to help you extend your amplifier’s performance and longevity. Always consult your amp’s manual before internal cleaning.