
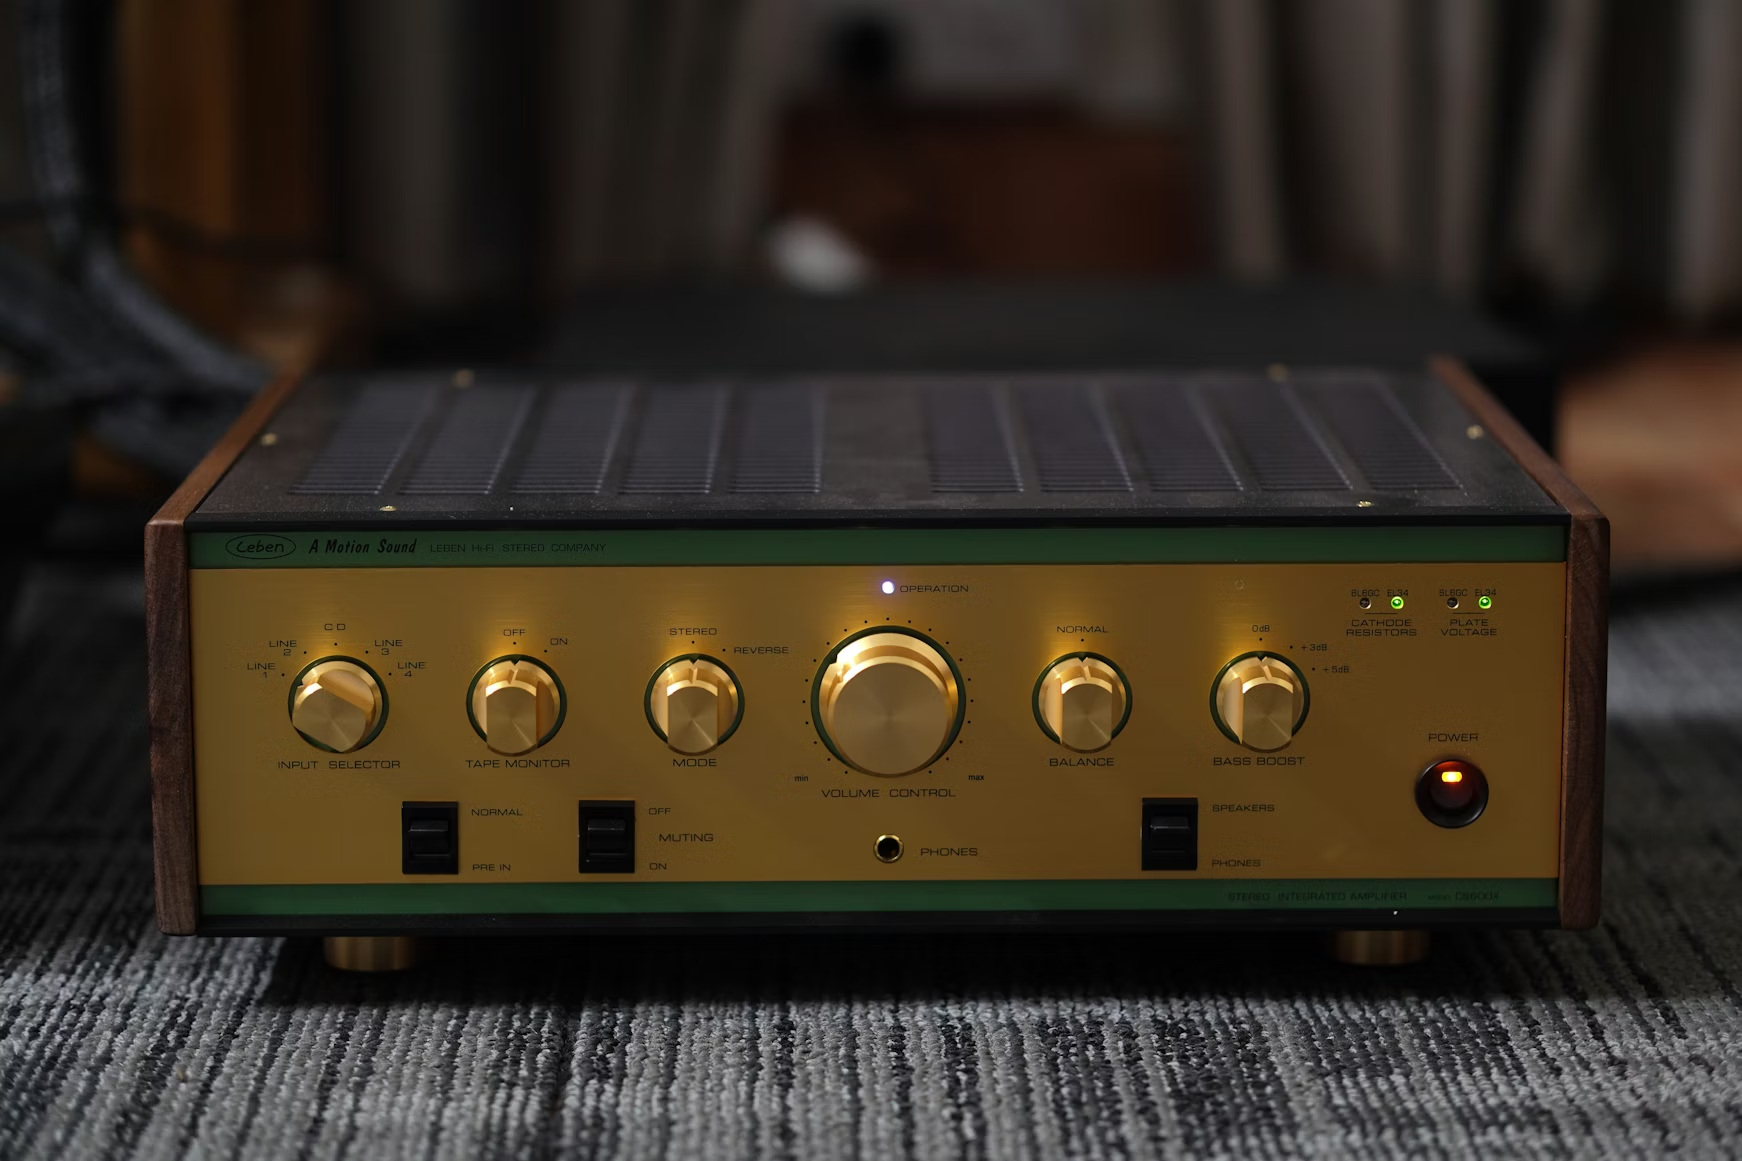
No sound from your amplifier is one of the most frustrating problems — but most causes are simple to find and fix. This step-by-step troubleshooting guide walks you through the checks and quick fixes (from cables and inputs to speaker wiring and internal power issues) so you can get your system playing again.
Quick checklist
- Is the amplifier powered on and the power indicator lit?
- Are the correct inputs selected and the source playing?
- Are speaker wires securely connected and not shorting?
- Does sound appear through headphones?
- Are any protection lights or clipped LEDs showing?
Step-by-step troubleshooting
Step 1 — Check power & front-panel indicators
Before diving into cables, make sure the amplifier actually has power. Confirm the AC cable is seated, the power switch is ON, and the front-panel power/standby LED is lit. If there’s no LED at all, try a different outlet and a known-good power cable.
Step 2 — Verify inputs & source
Set the input selector to the correct source (CD, AUX, Phono, etc.). Confirm the source device (phone, streamer, CD player) is playing and the volume on the source is up. If the source has its own mute setting or volume control, ensure it’s not muted or zeroed out.
Try multiple inputs — switch from AUX to CD or Bluetooth to rule out a single-broken input jack.
Step 3 — Inspect speaker wiring
Turn the amp off. Inspect the speaker wires for frayed copper or stray strands touching each other — any short will trigger protection and kill output. Confirm positive/negative polarity is correctly matched at amp and speaker ends (red → red, black → black).
Re-seat banana plugs or screw terminals firmly; loose connections are a common silent culprit.
Step 4 — Test with headphones
Plug headphones into the amplifier’s headphone jack (if present) and switch the amp to the same input. If you hear audio in the headphones but not from speakers, the amp is amplifying the signal — the problem is likely speaker wiring, speaker protection, or output stage related.
If headphones also show no sound, the problem lies earlier (input, source, preamp section, or power stage).
Step 5 — Rule out speaker or cable faults
Swap in known-good speaker cables and/or speakers if possible. Connect the amplifier to a different pair of speakers (or try the suspect speakers on another amp). If the problem follows the speaker, the speaker or its wiring is at fault. If the problem follows the amp, you’ve isolated the issue to the amplifier.
Also test the source on another amplifier or powered speakers to ensure the source output is functioning.
Step 6 — Check protection circuits, fuses & internal faults
Some amplifiers enter a protection mode if they detect a short, overheating, or DC on the speaker outputs. Look for a “protect” LED or check the manual for protection behavior. With power off and unplugged, visually inspect easily accessible fuses (not internal soldered parts). Replace blown fuses with the exact type and rating specified by the manufacturer.
If the amp warms then shuts down, or protection trips repeatedly, stop testing — this indicates an internal fault (e.g., shorted output transistor, failed power supply caps) that needs a qualified technician.
Advanced checks (only if you are comfortable)
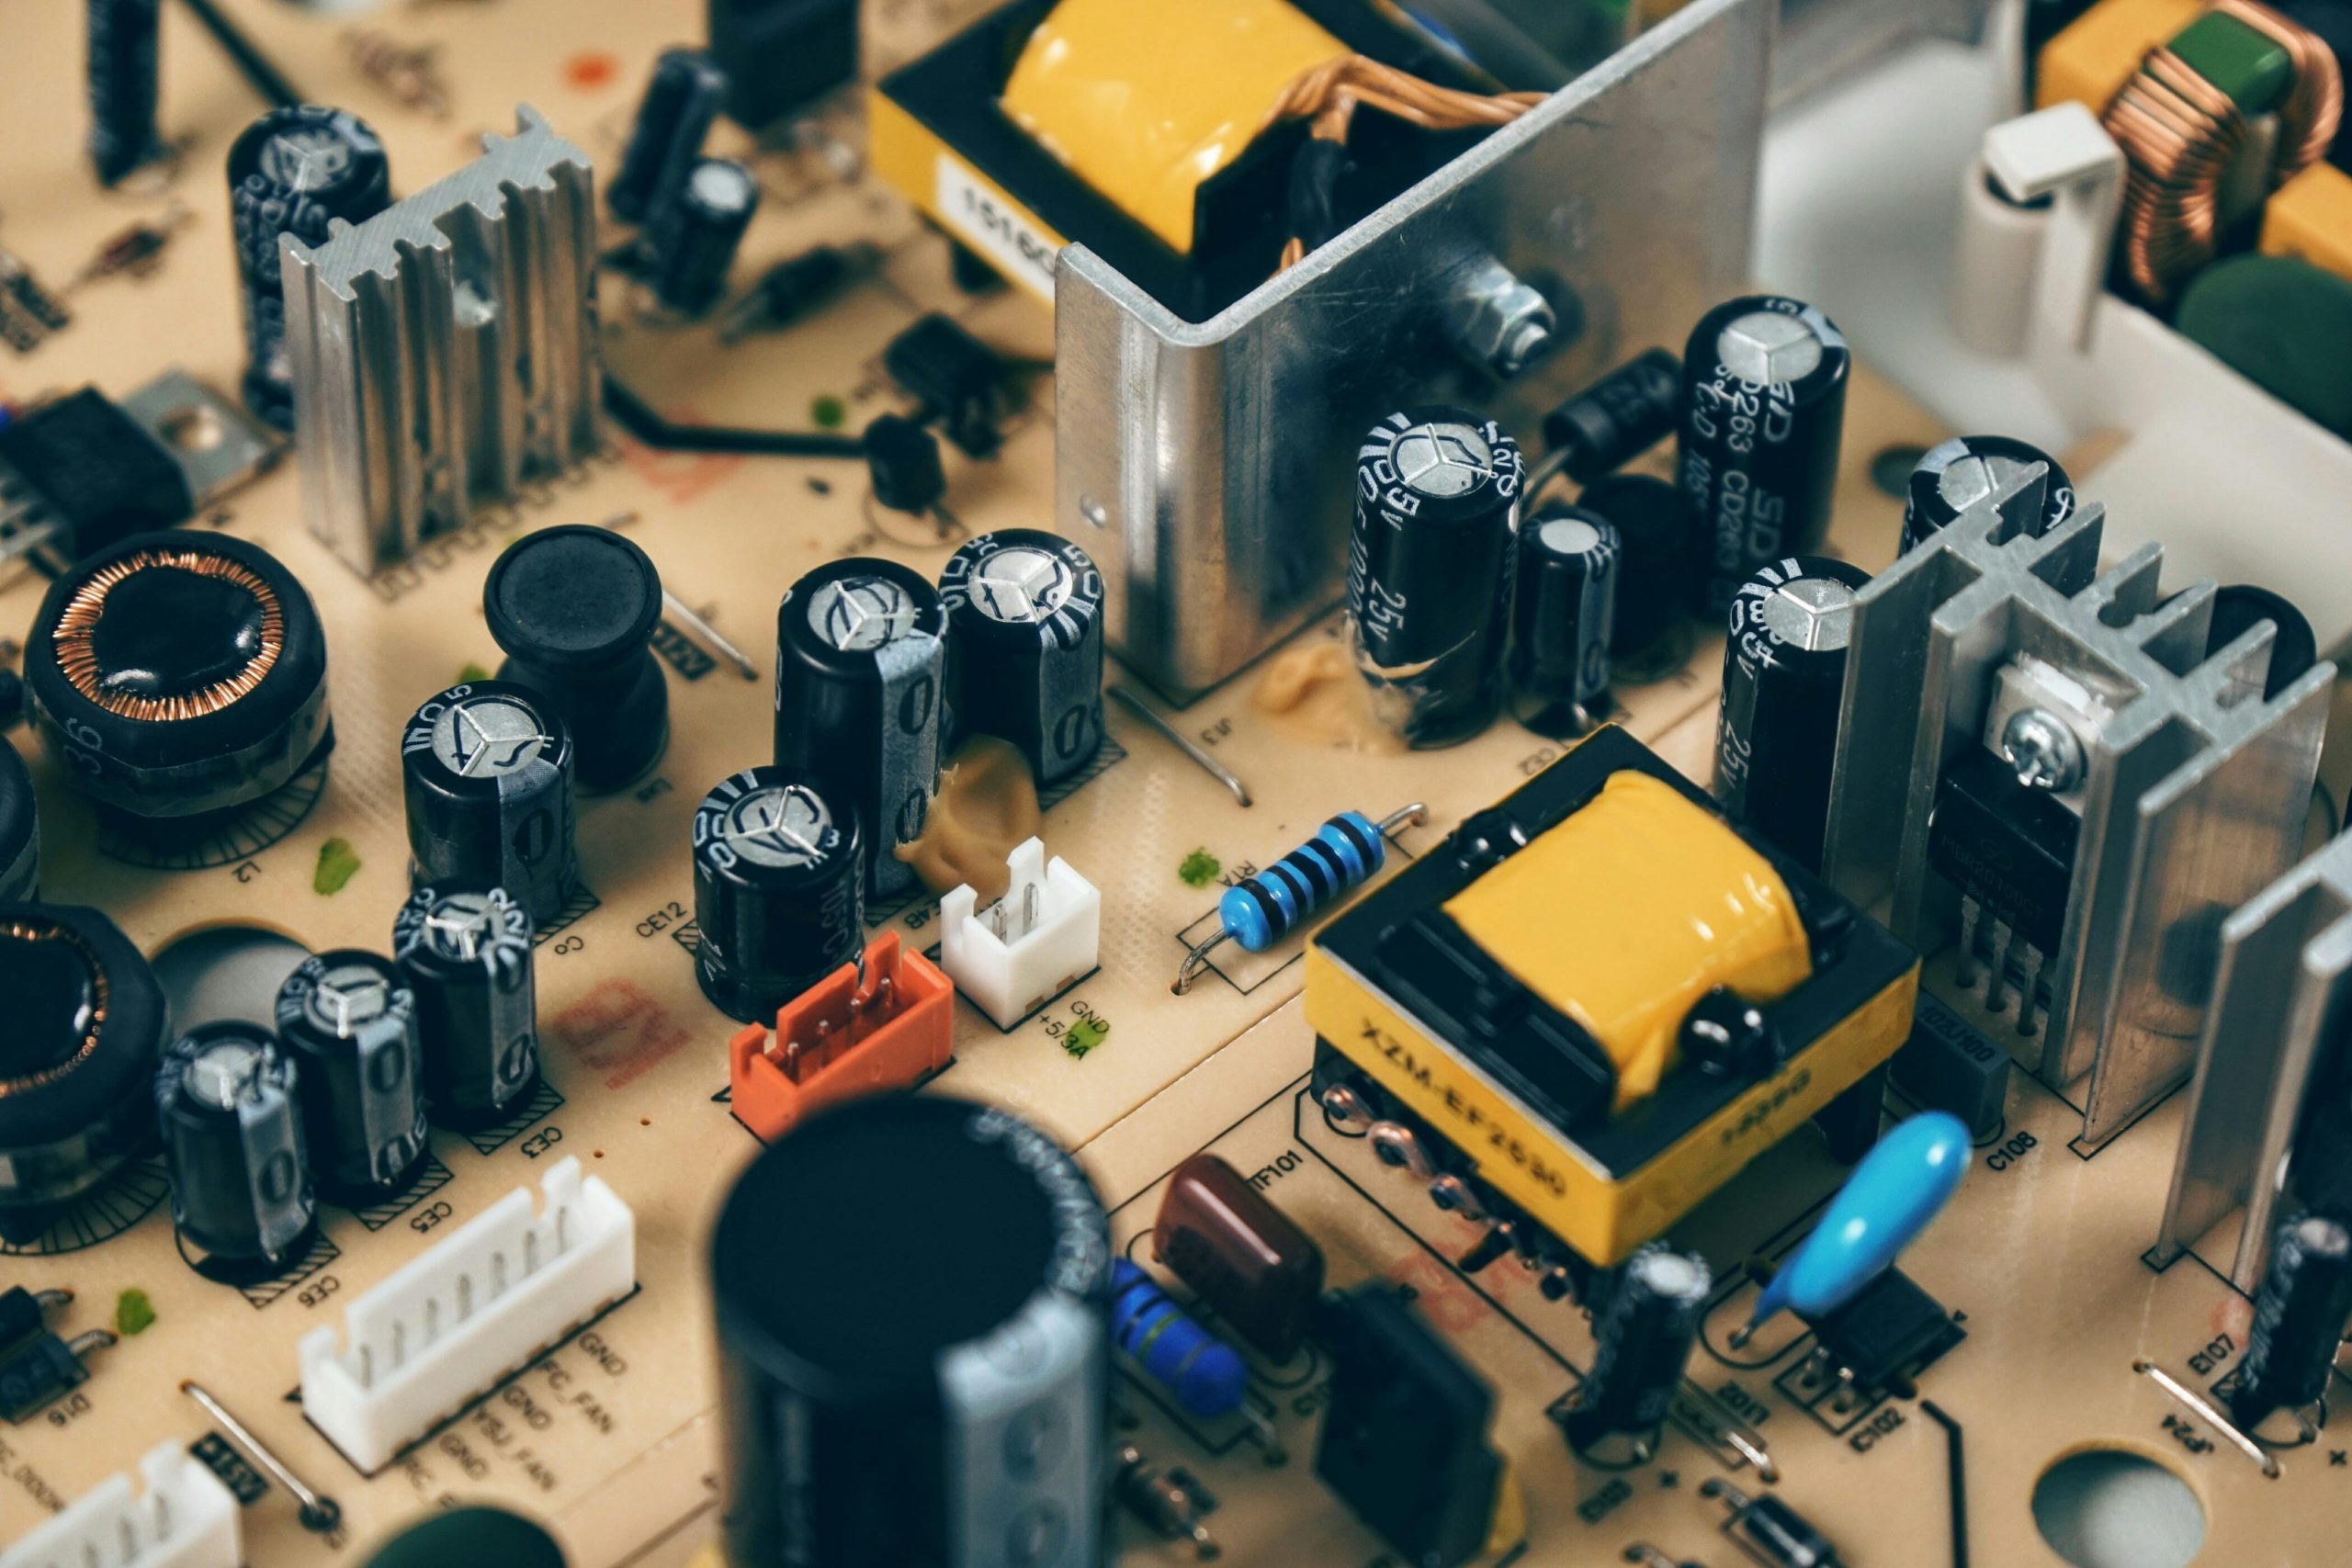
If you’re experienced with electronics, measure DC at the speaker terminals (should be near 0V DC). Excess DC indicates a failed output stage. Check power supply rail voltages and look for bulging or leaking electrolytic capacitors on the power board. If uncertain, consult a repair technician — internal repairs can be hazardous.