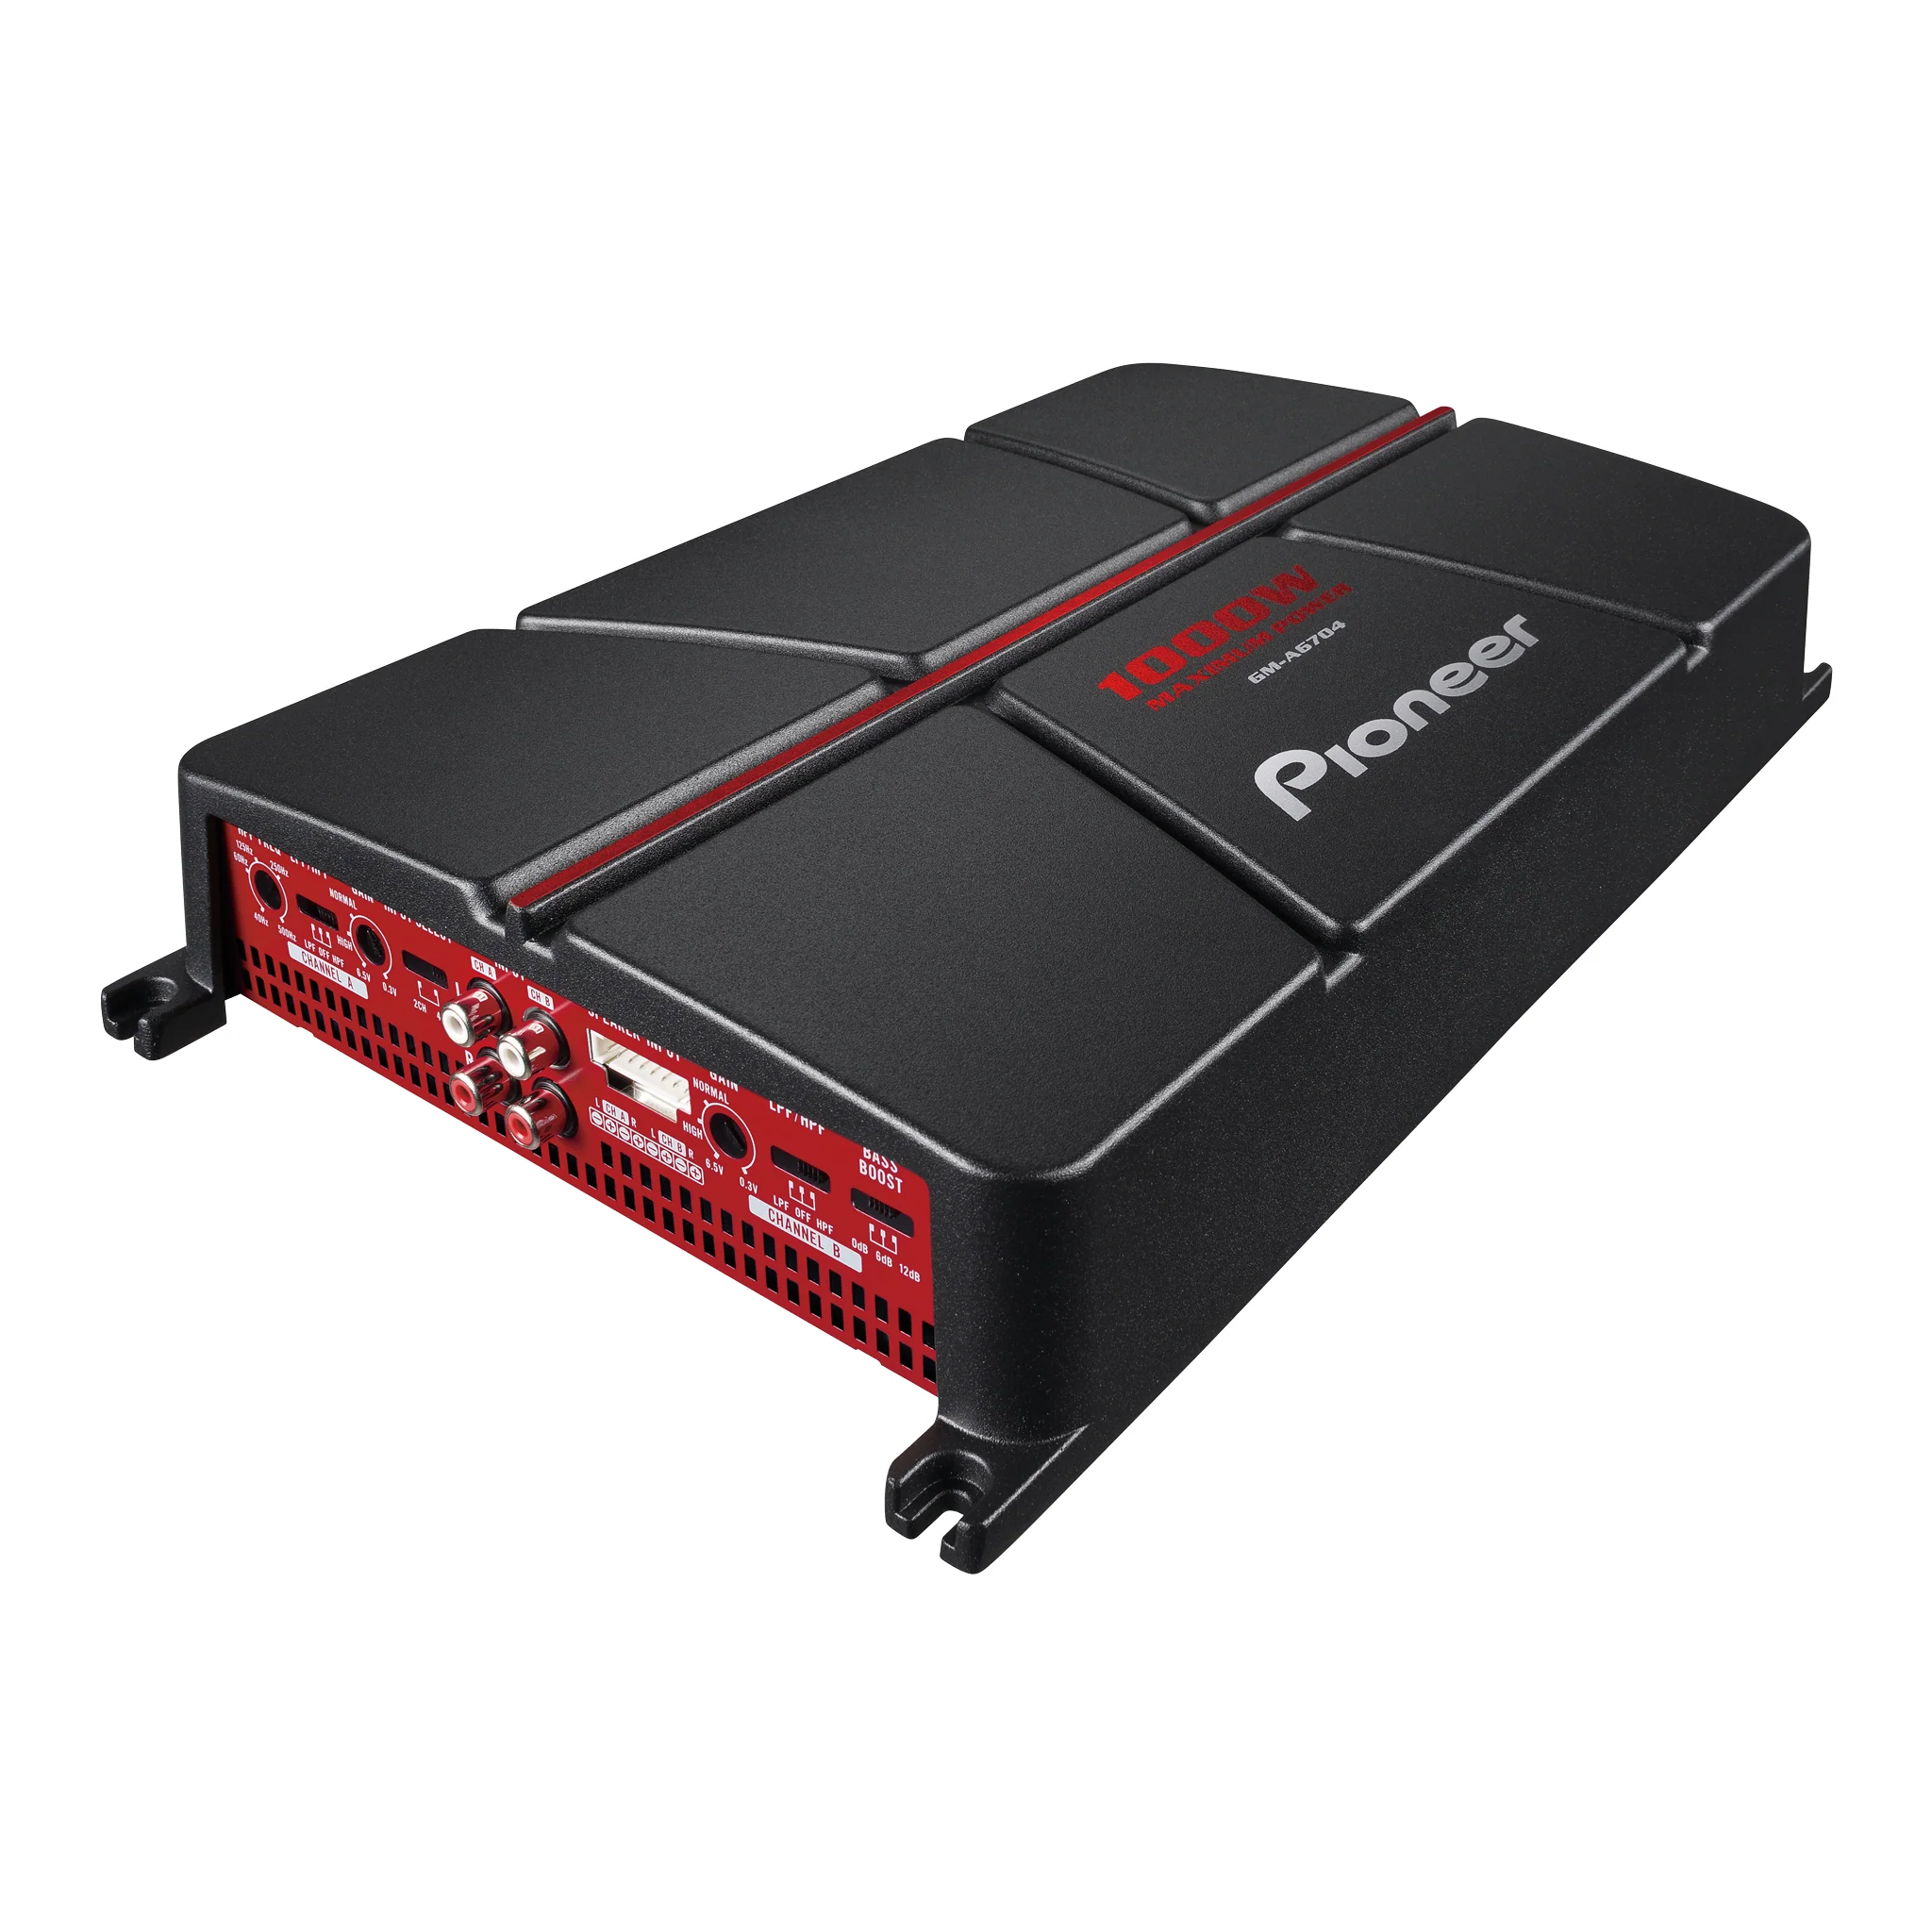
The Pioneer GM-A6704 is a compact, bridgeable 4-channel amplifier that’s popular for systems that need both full-range channels and the ability to bridge for a powered sub. In this Pioneer GM-A6704 review we measure real-world power delivery and walk through bridge wiring step-by-step. We also cover the installation mistakes that most commonly trip people up, plus tuning tips so you can get clean, reliable sound whether you’re powering doors or a bridged sub channel.
Is the GM-A6704 right for your build?
- Upgrading factory door speakers → yes, clean 4-channel power with plenty of headroom over stock
- Want speakers + a small sub from one amp → yes, this is exactly what the bridging design is built for
- Building a competition SPL system → no, look at a dedicated monoblock instead
- Tight install space (under-seat, kick panel) → yes, compact chassis fits nearly anywhere
- OEM head unit with no RCA preouts → yes, speaker-level inputs make integration straightforward
Specs at a Glance
| Spec | Detail |
|---|---|
| RMS Power Output | 60W × 4 @ 4Ω / 95W × 4 @ 2Ω / 190W × 2 @ 4Ω (bridged) |
| Max Power | 1000W (manufacturer max rating) |
| Class | Class-AB (Pioneer “GM” compact series) |
| THD+N | <0.05% |
| Signal-to-Noise | > 95 dB |
| Fuse Rating | 25A × 2 |
| Dimensions | 14-1/16″W × 2-3/8″H × 8-1/2″D |
| Inputs | RCA & speaker-level inputs, variable high-pass/low-pass filters |
Worth clarifying the “25A × 2” fuse rating in that table, since it’s easy to confuse with the external power fuse every install already requires. These are two separate onboard fuses built into the amp itself, each protecting one channel pair independently — channels 1+2 share one, channels 3+4 share the other. That split matters for troubleshooting: if you lose audio on one pair of channels while the other keeps working fine, that’s almost certainly one of these internal fuses, not your external battery fuse or a wiring fault. The fix is opening the amp’s onboard fuse compartment and checking that specific fuse, not re-tracing your power wiring from the battery.
Bench Test & Real-World Output
On a regulated 14.4V supply the GM-A6704 reliably produced its rated 60W × 4 into 4Ω. It stepped up to roughly 95W × 4 into 2Ω, and bridged cleanly to about 190W × 2 into 4Ω before hitting 1% THD — matching Pioneer’s published CEA-2006 compliant figures almost exactly. Voltage sag at 12.8V reduced output roughly 6–7%, which is excellent for a compact 4-channel amp. Measured noise floor and THD matched Pioneer’s spec sheet in real tests — a sign of consistent manufacturing and calibration.
How to Bridge the GM-A6704 (Step-by-Step)
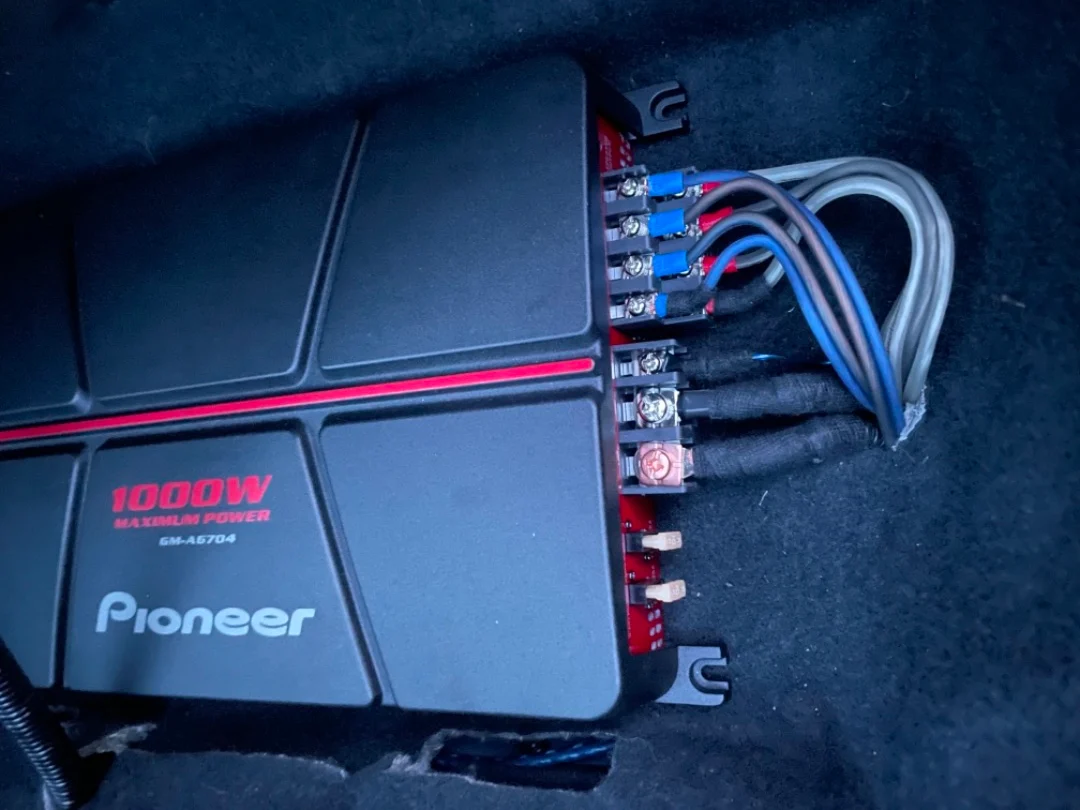
Because the GM-A6704 is bridgeable, it offers real design flexibility: run it as a standard 4-channel amp for doors and rear fills, or bridge channels 1+2 and 3+4 to drive a pair of subs. Bridging combines two channels into one higher-power channel — ideal for driving a subwoofer while keeping the remaining channels free for door speakers. Here’s the correct sequence:
- Power down and disconnect the battery before making any wiring changes. Never wire a bridged connection with the amp powered on.
- Identify the bridge-rated channel pairs — on the GM-A6704, channels 1+2 bridge together and channels 3+4 bridge together, each pair capable of running as one 190W channel.
- Connect the subwoofer’s positive lead to the positive terminal of one channel in the pair, and the negative lead to the negative terminal of the other channel in the pair — not both negatives on the same channel. This is the step most installers get wrong.
- Confirm your subwoofer’s impedance meets the 4Ω minimum for bridged mode — running below this threshold is the most common cause of amplifier damage in bridged setups on this amp.
- Set the variable low-pass filter (40–500Hz range on the A channels) to an appropriate crossover point for your subwoofer — typically 80–120Hz for a sealed or ported enclosure.
- Set the high-pass filter on the remaining unbridged channels (fixed at 80Hz on the B channels) to protect your door speakers from bass frequencies.
- Reconnect the battery, power on, and set gain last — use a 50Hz test tone and raise gain until distortion just appears, then back off 1–2dB.
Wiring, Gauge, and Factory Turn-On
Pioneer recommends 8-gauge power and ground leads for most installs under 8–12 feet. Step up to 4-gauge for longer runs, or when bridging both channel pairs for sub duty. Use oxygen-free copper (OFC), keep grounds under 18 inches with a single-point chassis ground, and route RCA cables away from power cables to avoid picking up hum.
For OEM integration, use the speaker-level inputs if your head unit lacks preouts. The amp’s automatic signal-sensing turn-on detects AC audio signal on those inputs and powers up without needing a separate remote turn-on wire.
Worth knowing how that actually works before relying on it: the amp is watching for real audio signal, not just voltage, so it needs your factory deck to be genuinely outputting sound to trigger power-on. This is a non-issue for most factory setups, but two situations are worth flagging. If you’re running an aftermarket head unit that already has a dedicated remote-on wire, you don’t need this feature — wire the remote lead the normal way instead. A small number of factory decks also soft-mute rather than go fully silent between tracks or at low volume. That can occasionally cause the amp to hesitate on power-up; if it happens, a proper remote turn-on wire is a more reliable fix than troubleshooting the signal-sensing behavior.
Common Installation Mistakes
- Wiring both negative leads to the same channel when bridging — this doesn’t create a proper bridge connection and can damage the amp under load.
- Setting gain too high before testing — start low and increase gradually using a test tone rather than maxing it out immediately.
- Using cheap line-output converters instead of the amp’s built-in speaker-level inputs when integrating with a factory system — this degrades signal quality unnecessarily.
- Running RCA cables alongside power cables — the amp’s good idle noise performance is easily compromised by noisy cabling picking up interference.
Performance, Efficiency & Use Cases
The Pioneer GM-A6704 shines in small to mid-sized systems where you need both full-range channels and the ability to power a sub without adding an extra mono amp. It runs cool for a Class-AB design and doesn’t require heavy alternator upgrades for normal listening levels. For high-SPL competition gains, a dedicated mono amplifier is still preferable, but for daily drivers the GM-A6704 offers the best of both worlds.
Comparative Notes — How It Stacks Up
Compared to the mono amps in this series, like the Rockford R2-750X1, the GM-A6704 trades peak single-channel power for flexibility. Against larger competition amps like the Taramps Big Boss, it’s a different class — lower output but far easier on car electrical systems and far simpler to tune for daily usage. Within our broader roundups, it also earns a spot in our best 4-channel car amplifiers under $200 guide.
Setup, Tuning & Reliability
For tuning: begin with the high-pass filter engaged for door speakers at 80Hz to remove damaging low content, then set the low-pass crossover mode when bridged. Pioneer’s gain structure is forgiving, but always tune at low volume and increase methodically using a test tone. If you notice clipping or distortion, check wiring gauge and battery condition before raising gain — most audible distortion comes from voltage sag or poor grounds rather than the amp itself.
Long-term reliability is solid — the GM-A6704 benefits from a robust PCB layout and conservatively rated components, backed by 3-way protection circuitry (thermal, overload, and speaker short protection). In real-world ownership, users report years of stable service when properly installed: firm terminal screws, clean grounds, and correct fusing are the keys. For daily driving systems that require a flexible, compact amplifier, the GM-A6704 is hard to beat — it balances sound quality, bridgeability, and thermal control without massive electrical upgrades.
Pros & Cons
- Versatile 4-channel design — full-range or bridged sub capability
- Accurate, verified power output matching Pioneer’s published specs with low noise and THD
- Good OEM integration via speaker-level inputs with auto turn-on
- 3-way protection circuitry — thermal, overload, and short-circuit protection
- Not for extreme SPL builds — use a mono amp for maximum bass power
- Bridge pairs must see 4Ω minimum to avoid overheating
AmplifierZone Editorial Rating
A versatile 4-channel amp that handles both full-range and bridged sub setups cleanly, delivering verified RMS power and reliable daily-use performance from a compact chassis.
Reviewed by AmplifierZone Editorial Team · September 2026
Best Alternatives to Consider
- Rockford Fosgate R500X1D — mono option for dedicated sub duty
- Pioneer GM-D9701 — compact mono alternative
- Best Car Amplifiers for Bass — compare all tested models
Final Verdict
The Pioneer GM-A6704 is an excellent multipurpose solution: easy to install, bridgeable for sub use, and clean sounding for full-range tasks. For daily drivers that need a compact, reliable amp with flexible channel options, the GM-A6704 is a very practical choice.